
Most decorating regrets are not about taste. They are about scale, light and order. The rug that looked generous online arrives and covers half of what you expected. The gray you loved on a chip turns lilac by four in the afternoon. The sofa fits, technically, but now nobody can open the closet.
All of that is preventable, and none of it takes talent. It takes seeing the room before you commit to it. Here are ten ways to do that, arranged roughly from free to worth paying for.
1. Tape the plan onto your own floor
Painter’s tape, a measuring tape, an hour. Mark the footprint of the sofa, the bed, the island, the vanity. Then live around it for two days.
This one exercise catches more problems than any app. You find out that the walkway between the bed and the dresser is eighteen inches, that the dishwasher door lands where you stand, that the room is fine but the path through it is not. Two days is the right amount of time, because the first day you notice the tape and the second day you start walking around it without thinking, which is exactly the information you wanted.
2. Give paint a full week, not a swatch
Paint two large squares, at least two feet across, on different walls. One near the window, one on the darkest wall. Then leave them alone. A week is not overkill. Look at breakfast, look again around four, and look once more at night with the lamps on.
North-facing rooms pull color cool. West-facing rooms turn everything warm and orange around six. A color chosen at noon in a store lit with fluorescent tubes has told you almost nothing about your own room.
3. Build the furniture out of cardboard
Boxes, tape, a knife. Make a rough block the size of the piece you are considering, and stand it where it would go.
Tape on the floor shows footprint. Cardboard shows bulk, and bulk is what crowds a room. Two armchairs can take up the same square footage, and if one is deep and the other is not, you end up with two different rooms.
4. Photograph the room and draw on the photo
Stand in the doorway, take the picture, then scribble on it with your finger. Shelving here. This wall gone. Pendant about there, maybe lower. It looks childish and it works.
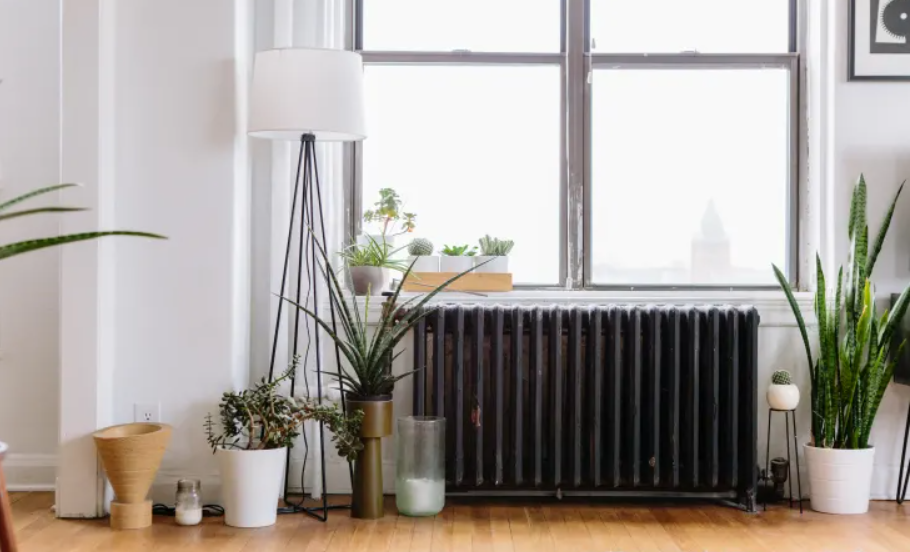
A photograph strips away familiarity. You have stopped seeing your own hallway, but you will see it perfectly well in a picture, including the radiator you had mentally deleted years ago.
5. Order large samples and put them together
Not chips. The actual tile, a chunk of the countertop, a cabinet door, a yard of the fabric. Pile all of it on the floor of the room it is meant for and look at the heap in daylight.
Materials that seem perfect individually often argue with each other. Two whites will fight. A warm oak floor will turn a cool gray tile faintly blue. You cannot know that from separate browser tabs, because every product photograph has been lit to make that one product look its best.
6. Check everything after dark
Rooms get chosen in daylight and lived in after dark. So carry the samples back in around nine at night, with your own lamps doing the work and the overhead off if that is how you actually sit.
Bathrooms and kitchens take the worst of this. Harsher light, more reflective surfaces, and a finish that felt calm at noon turns clinical by ten. Except by then it is grouted in. Changing the fittings anyway? Borrow one bulb in the color temperature you plan to buy and judge under that.
7. Use a room planner for layout, not for looks
Free planning apps are genuinely useful for one thing: testing whether the arrangement works. Doors that swing into each other, a bed that blocks a radiator, a sofa that leaves no route to the balcony.
Where they are less useful is appearance. The furniture models are generic, the lighting is flat, and a room that looks acceptable in an app can still be a disappointment in life. Use them to answer questions about space, not about feeling.
8. Steal the trick professionals use for shopping
One photo of the room, kept on your phone, with the numbers written straight onto the image. Wall lengths. Ceiling height. Window widths. That awkward gap either side of the fireplace.
Every impulse buy that goes wrong goes wrong because the tape measure was at home. Carrying the numbers in your pocket costs nothing and saves the return trip.
9. Get the room rendered if the budget is serious
Once a project passes a few thousand dollars, guessing gets expensive, and this is the point where people hire a visualizer. You send measurements, photos and the products you have chosen, and you get back a photoreal image of that exact room with those exact finishes.
It is the same service interior designers use to get sign-off from their own clients, and studios producing renders for client presentations will work from a rough sketch or from photos of the existing space. You see the real tile, the real cabinet color and the real light before anything is ordered, which is a very different thing from an app approximation.
10. Ask for the whole floor, not just one corner
If you are doing more than one room, a single camera angle will not tell you whether the scheme holds together. What you want is the dollhouse view of a room set, where the ceiling is removed and you look down into the whole layout at once.
That is the view that catches flow problems: the kitchen that opens awkwardly into the dining area, the hallway that stays dark because every door is closed, the bedroom that ended up with no natural place for a chair.
Consider the Cost of Exterior Changes
Just as you can test furniture placement and finishes before committing to an interior renovation, it is worth planning major exterior work carefully. If your home needs structural improvements or a new roof, understanding roof replacement costs beforehand can help you set a realistic renovation budget and avoid unexpected expenses later. Comparing materials, measuring the area, and getting professional estimates before work begins can make the entire project easier to visualize and keep your spending under control.
Start with the tape
You do not need all ten. For a single room refresh, the tape, the paint squares and the night check will save you most of the money you were about to lose.
For a full renovation, do those three anyway, and then pay for the render. The image costs a fraction of the tile, and it is the only one of these methods that shows you the finished room while everything is still changeable.

Team TrandyVilla is the passionate home decor team behind Trandy Villa, where style meets comfort in everyday living. The team loves transforming simple spaces into beautiful, functional homes through smart ideas, budget-friendly hacks, and modern design trends. Their content focuses on helping readers create homes that feel both stylish and personal without spending too much.